In September, Everlane started selling jeans, which makes a lot of sense for a brand known for basics. It’s a wardrobe staple that a lot of us can’t live without. But it took them two years to source a factory because they wanted an environmentally-friendly one.
You see, denim production (and textiles in general) is a dirty, dirty business. Many fabric dyes contain nasty chemicals like cadmium, mercury, and lead, according to this article from Time, which looked at how Xintang, China, the “Jeans Capital of the World,” suffers from polluted waterways. And if it’s not the water that’s polluted, it’s the air.
Everlane says the factory they found to produce its jeans is one of the most sustainable. According to this story, the Vietnam-based, LEED-certified factory is nearly half-powered by alternative energy and recycles 98% of its water. I was astounded to learn that making a single pair of jeans can take 1,500 liters of water! But this factory uses a closed water system which only loses .4 liters of water per pair of jeans. It even mixes the denim’s byproducts with concrete to create bricks, which are used to build homes in the area. I agree with the tags on these jeans, which read “denim to feel good about.” Everlane’s jeans are priced at $68, which seems reasonable (and comparable to the price point at Levi’s).

The women’s jeans come in three cuts — mid-rise skinny, high-rise skinny, and modern boyfriend — and in two lengths: regular and ankle length. (Fellow petites, rejoice!) Right now, they offer four washes: mid blue, dark indigo, black, and white.
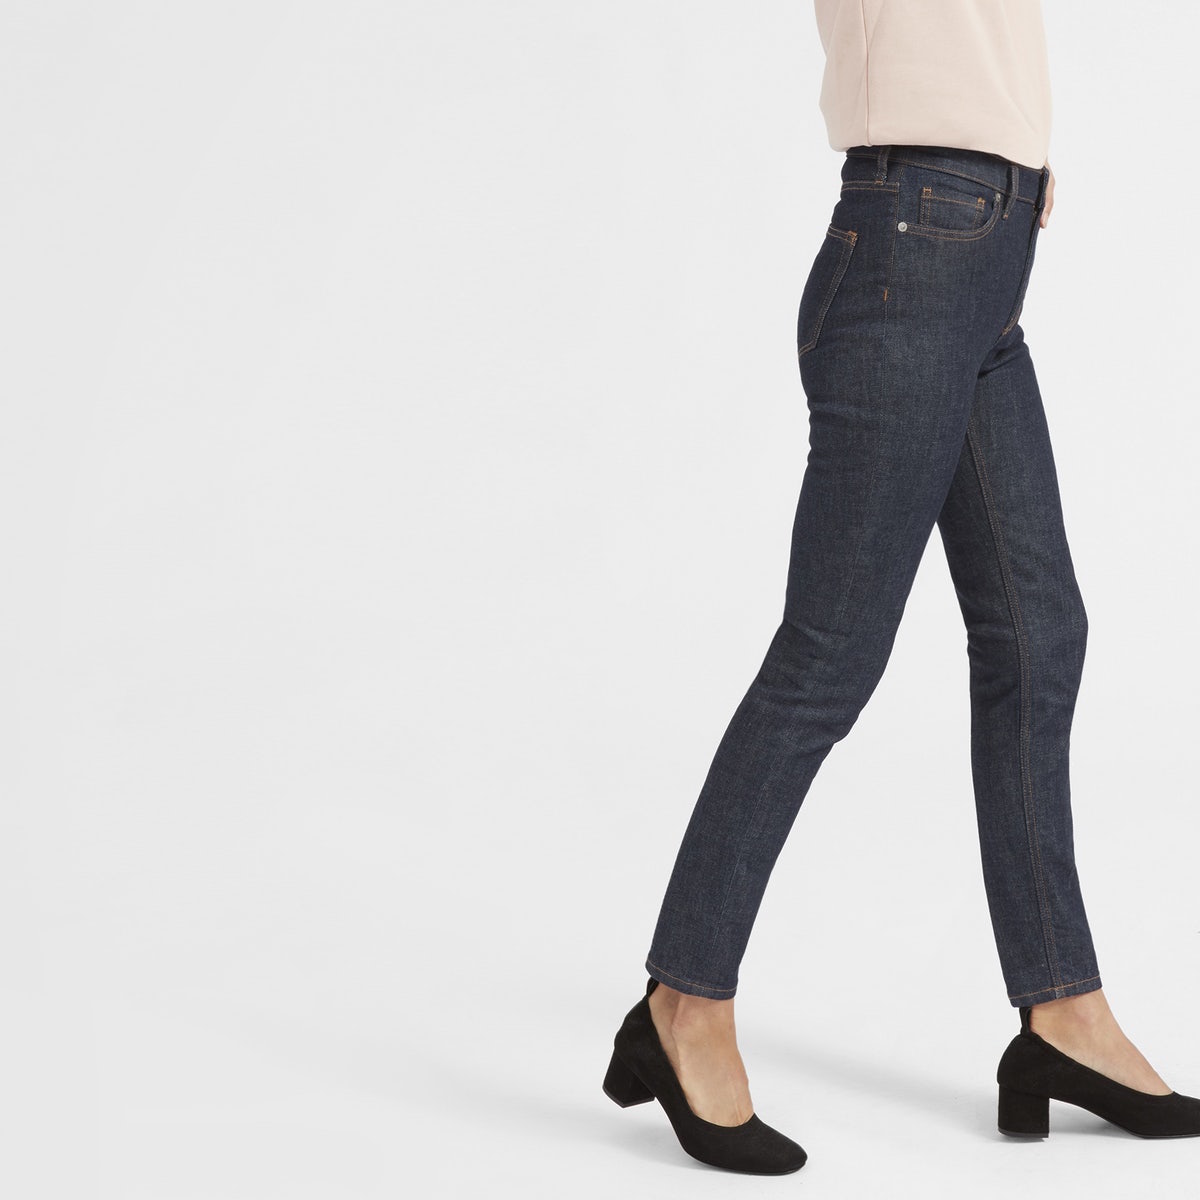
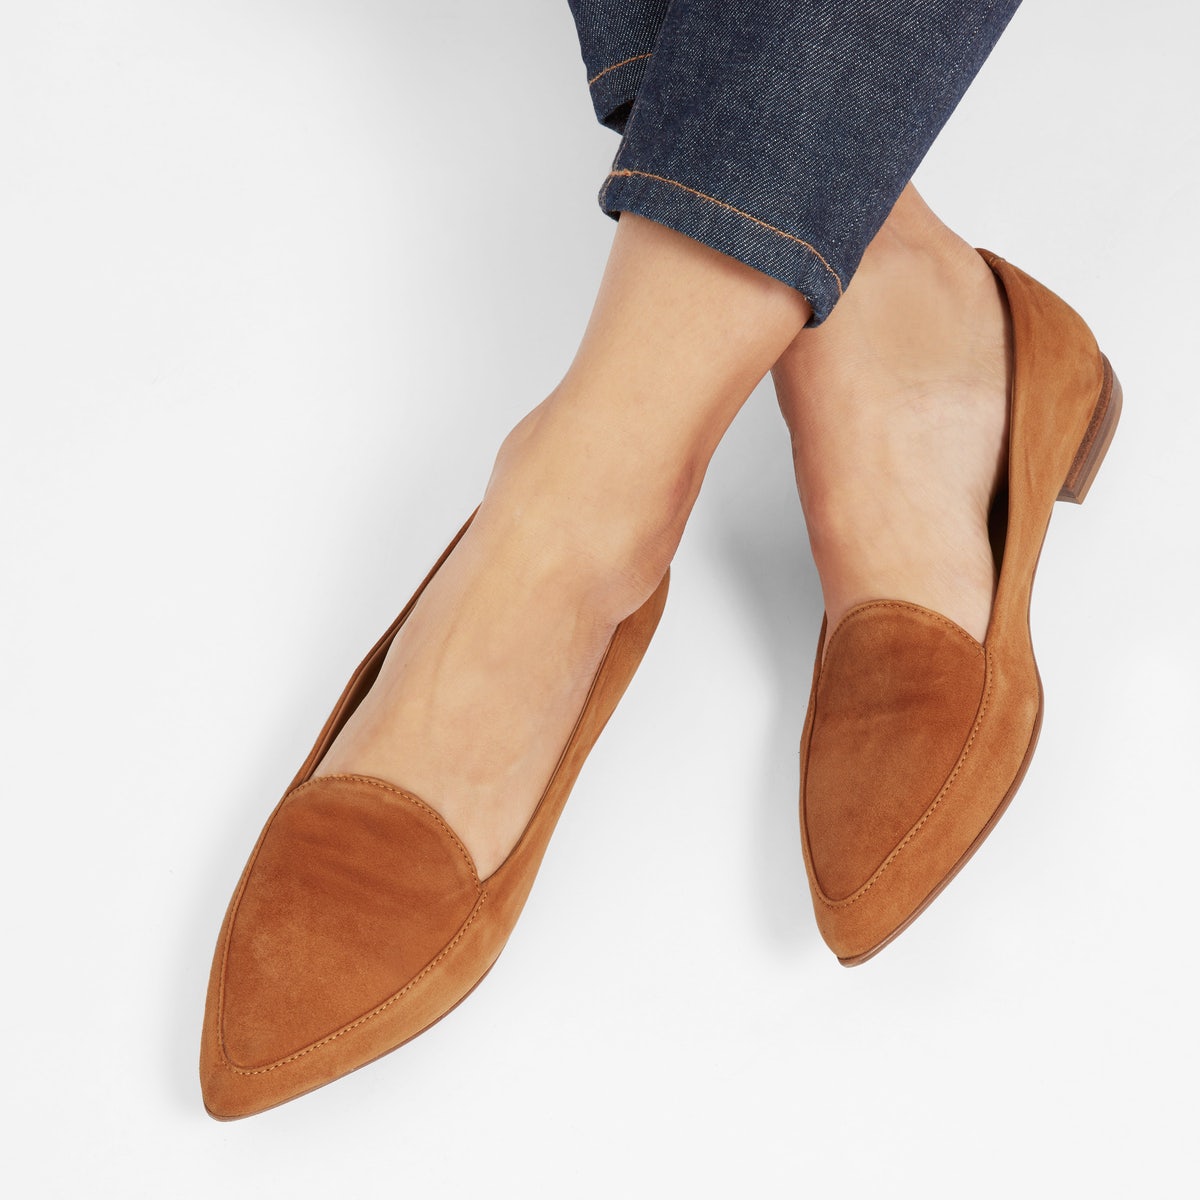
As you might have noticed from my previous posts, I’m all about the high-rise cut, so that’s what I tried. Here’s what they look like on a model:

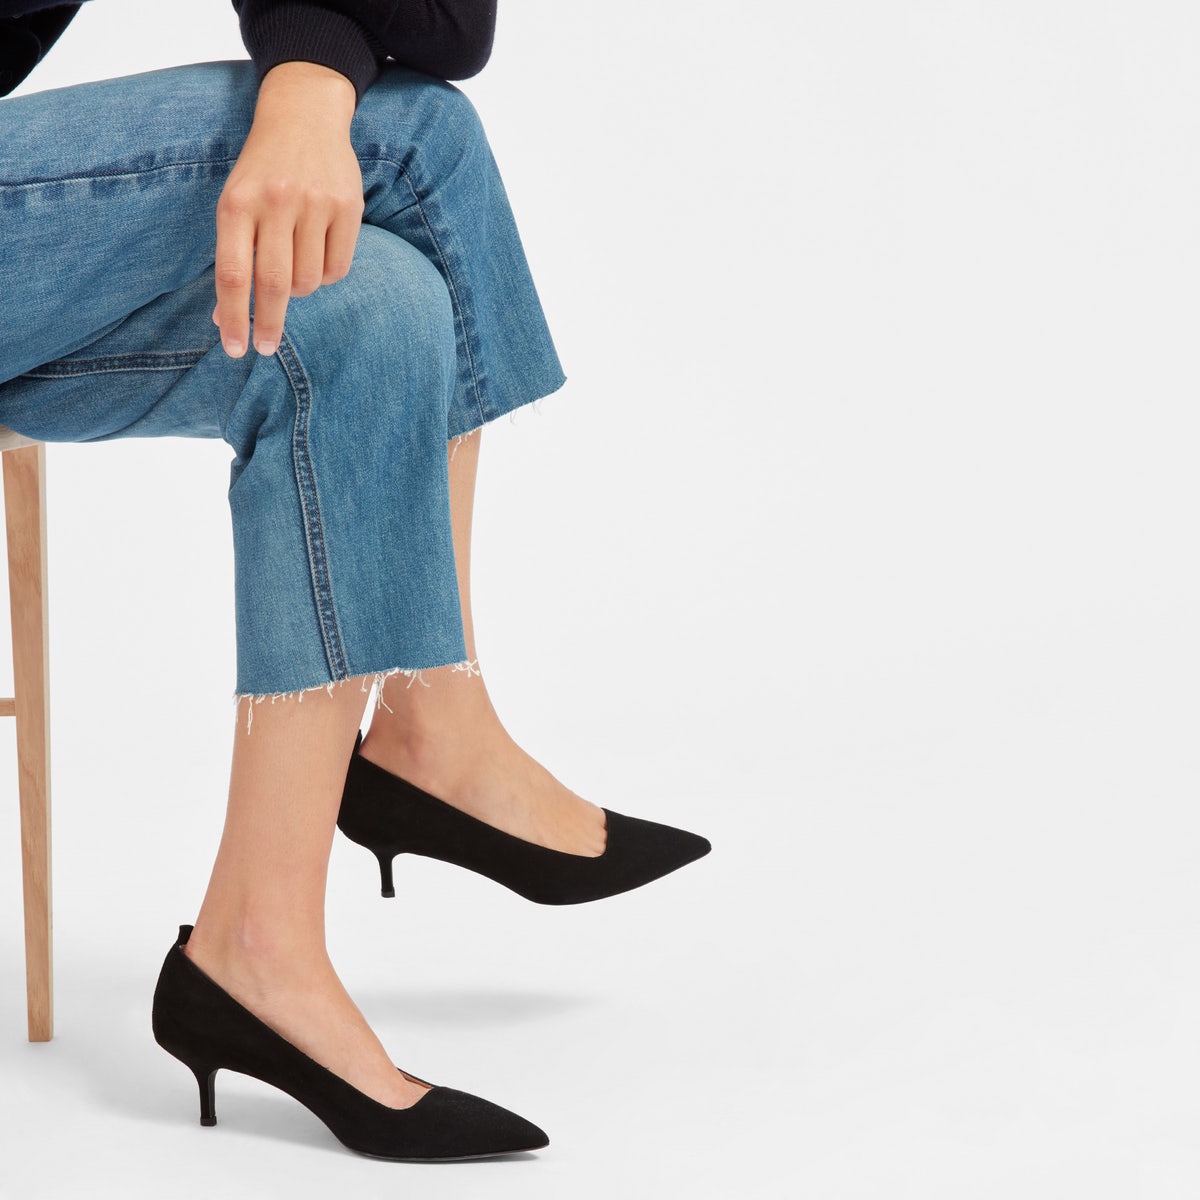
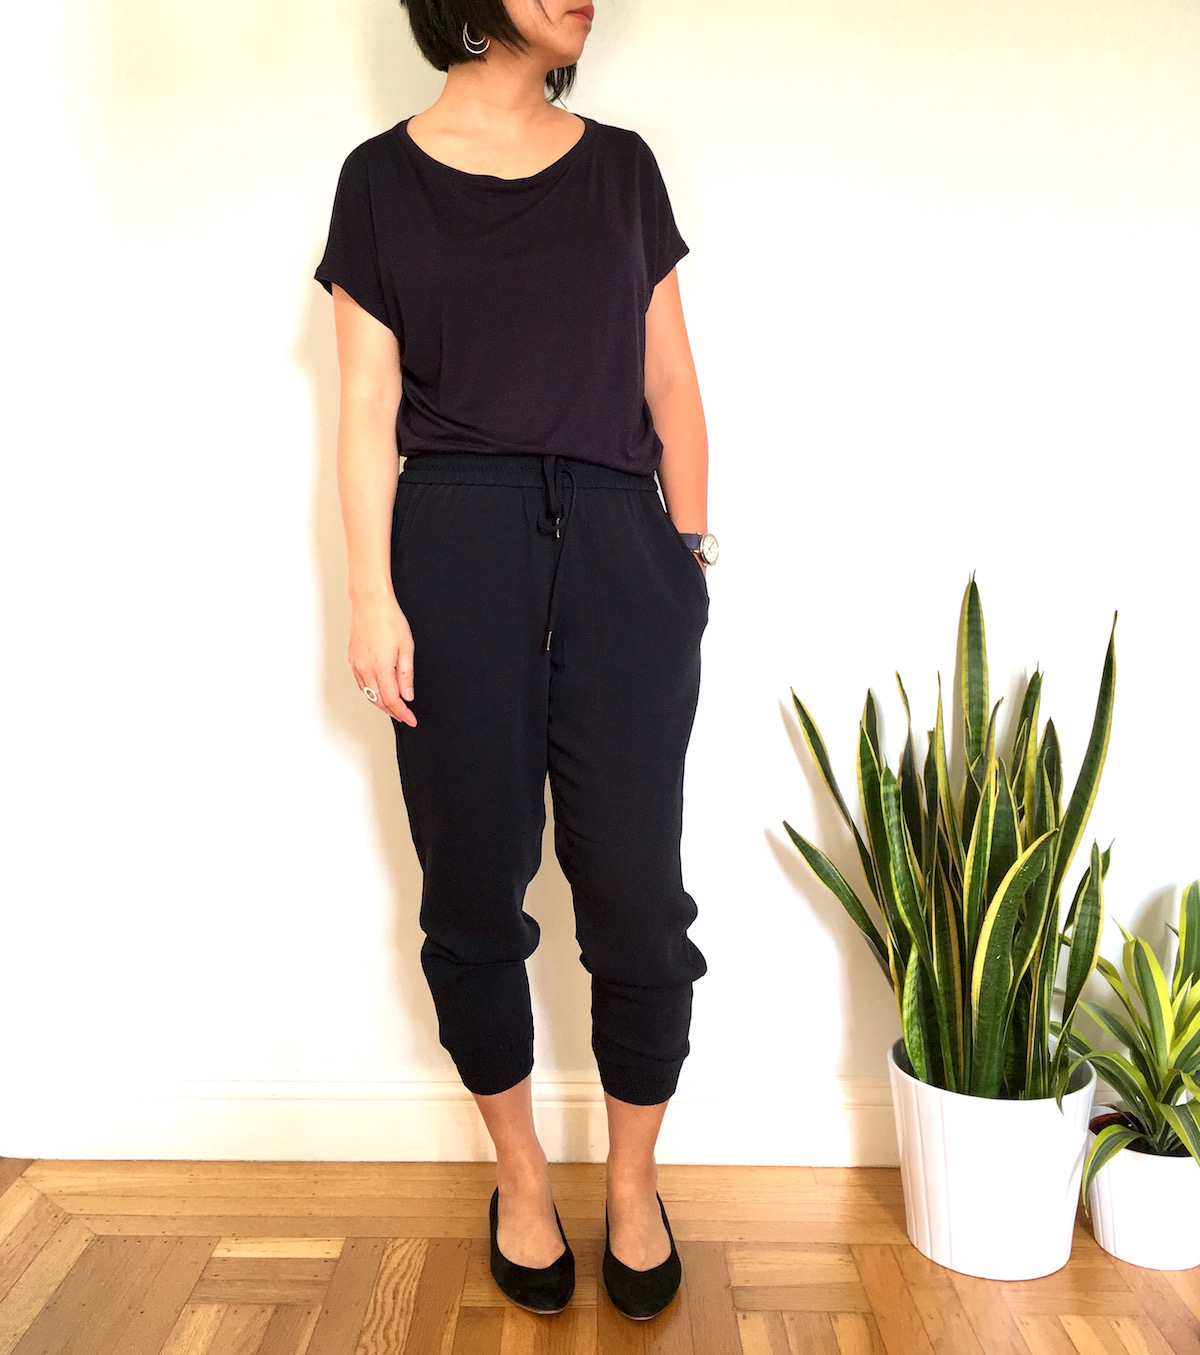
And here’s how they look like on me. I’m wearing the black high-rise skinny in ankle length.

The inseam on these is 26.5″ and the length was perfect for me. I’m 5′ 4″ for reference. (The inseam on the regular length is 28.5″.) They are indeed high rise — they go up to the navel. I’m wearing my usual denim size, which I found a bit tight. They were fine to stand around in, however, they were too constricting when I sat down. (I call this the sit test, and I hate fitting rooms that don’t have chairs or stools for me to conduct this test.)
I tried the same size in the indigo wash, and while they were not quite as tight as the black pair, they were still too tight for sitting comfort. So then I went one size up in the indigo. Bingo! They’re still nicely skinny, but more comfortable.

Overall, I found the fit to be fantastic — they don’t gap at the waist, bunch weirdly across the front, or flatten my behind. Of course, how they fit on different people will be different. (A friend tried them on too and they didn’t fit her well in the derrière). But for me, I think these might be the best fitting skinny high-rise jeans I’ve ever tried.
They’re not the skinniest skinny jeans — they have a bit of room in the leg — but I kinda like that about them. It gives them a bit of a vintage feel. The denim is 98% cotton and 2% elastane, but it doesn’t really have much stretch. It’s a stiff Japanese denim that seems of good quality.
Let’s take a moment to compare to other brands. Uniqlo’s jeans cost $40. In the high-rise department, they have this high-rise slim cut, this high-rise cigarette cut, and even a pair made with their HEATTECH fabric for the winter. Their jeans are a medium weight and are stretchier than Everlane’s, molding to your legs. I have an earlier iteration of their high-rise jeans and find them quite comfortable.
I’ve also tried Madewell’s high-rise skinny jeans, which start at $128 and go up to $158 for an embellished pair (though you can bring in an old pair of jeans to recycle for $20 off). These jeans are stiffer than Uniqlo’s, but not as stiff as Everlane’s. The leg is skinnier than Everlane’s. However, one thing that I dislike about Madewell’s jeans are that the front pockets are shallow. You could probably put your keys in there, but not a phone.
On the high end of the spectrum, I’ve tried 7 For All Mankind’s $200 high waist ankle skinny — the stretchiest and skinniest of all (they are skin tight), but these also have shallow pockets.
Since I already own a few pair of Uniqlo jeans right now, I’m holding off on buying Everlane’s. While I don’t know the specifics of manufacturing for these other brands, I bet that none of them come close to Everlane in terms of sustainability and ethical production. As soon as my other jeans wear out — or as soon as Everlane come out with another wash I could use (how about olive green or dark gray?) — I’m going to get me some environmentally-minded, ethically-made denim!
UPDATE 12/30/17 – Well, after resisting for a few months I caved and ordered a pair of high-rise skinny jeans in the dark indigo, so here’s my update after wearing them for about two weeks. I ordered the ankle length one size up from my usual size. They’re snug at first but loosen up as you wear them.
Because the denim is a bit stiff, it doesn’t mold to the legs. Perhaps from the way it hangs off the body, folds appeared, particularly around the knees. I’m not sure how the Everlane model wore them without hardly any wrinkly folds, though I take comfort in the fact that they wrinkle a bit even on Jennifer Lawrence.

If you’re going for a super skinny leg look or want to tuck your jeans into knee-high boots, these are not for you. While the leg is skinny, it’s not that skinny.

After I washed and air dried them, they tightened up as if they were new. But with wear, they loosened up again.

While I find them comfortable, now that I’ve had them for a few weeks, I’ve concluded that they’re not the best-fitting jeans ever for me. (Uniqlo wins on that front.) I also wish the stiffer Japanese denim didn’t generate quite so many folds. However, the jeans do seem well made. The looser leg shape lends a casual, more relaxed look, something different from my other jeans. I plan to keep them.
UPDATE 2/10/18 – Alright, I’ve worn these for about two months now. Even though I was disappointed after the first two weeks because of the folds, I find the waist fits well and I’ve been getting a lot of wear out of these jeans because I find them comfortable. I really like the shade of the dark wash as well. They pretty much go with everything.
Because I’m a dork — and for shits and giggles — I mimicked the Everlane stock photo to see how the jeans compare on a regular person. Not surprisingly, they are wrinklier on me than on the model. Also, while creating this pose I realized that you have to raise your arms to keep them out of the frame. Yet you can see a bit of hand at the model’s waistband, which I guess is possible, but a weird way to hold your arm. In any case, modeling seems awkward.

You find a directory to my Everlane reviews here.